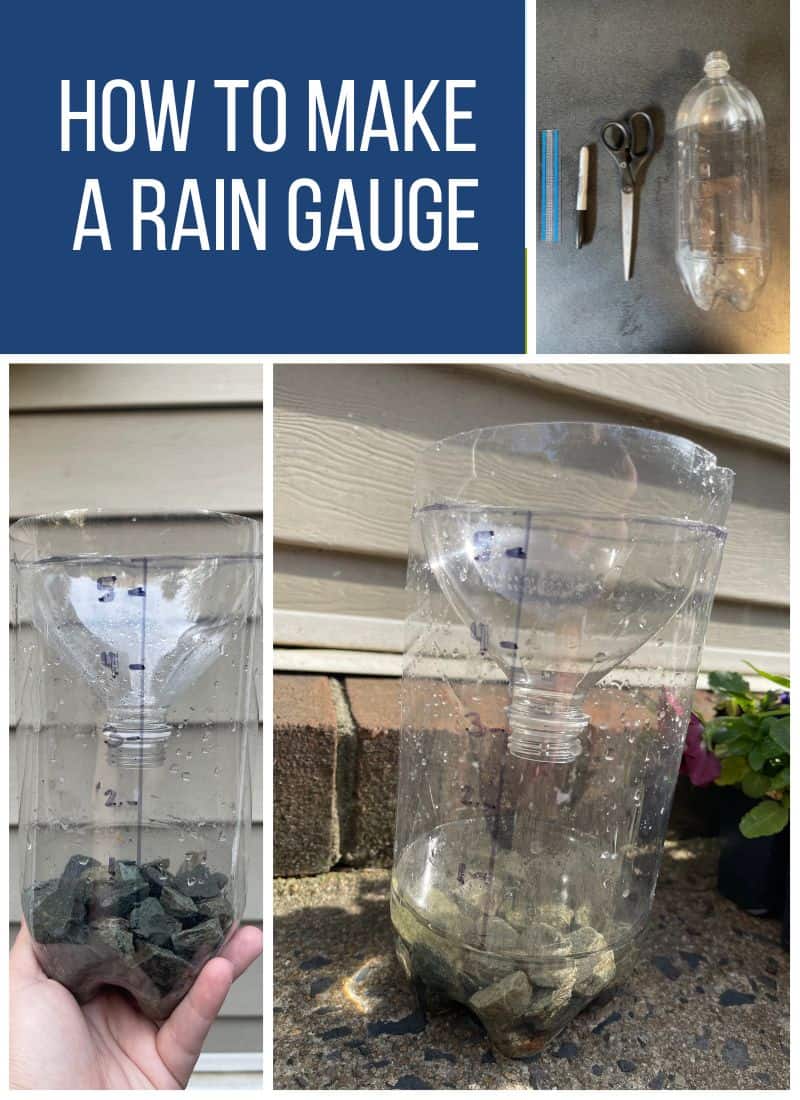
Making a rain gauge for kids is a simple and fun way to explore weather and see how scientists measure rainfall. With just a few basic materials, kids can build their own rain gauge and watch how much rain falls during a storm.
Rain gauges are one of the most common tools meteorologists use to measure precipitation. When kids make a homemade version, they get to do the same thing on a smaller scale, observing real weather, measuring rainfall, and recording what they see.
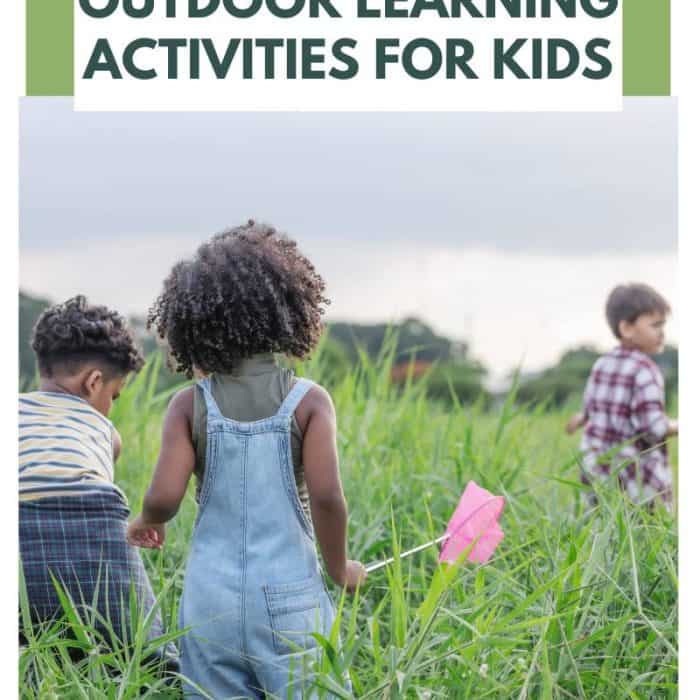
This easy outdoor science activity works well for homeschool lessons, classroom weather units, or just learning outside in your backyard. As they use their rain gauge, kids start to understand how it works, why measuring rainfall matters, and how weather is tracked over time
The History of the Rain Gauge
Rain gauges have been used for hundreds of years to measure how much rain falls in a specific area. One of the earliest known rain gauges was created in ancient India and ancient Greece around 400 BCE, where people collected rainwater to help plan farming and understand seasonal weather patterns.
Today, rain gauges are still used all over the world by meteorologists and scientists to track weather patterns, study climate, and monitor storms. Even though modern tools are more advanced, they still follow the same simple concept used hundreds of years ago.
What Does a Rain Gauge Measure?
A rain gauge measures how much rain falls in a specific place over a certain amount of time. It works by collecting rainwater in a container so you can actually see and measure how much has fallen. Rainfall is measured in inches or millimeters. For example, if a rain gauge shows 1 inch of rain, it means that if the rain fell evenly across the ground and did not soak in or run off, it would cover the surface with one inch of water.
How does a Rain Gauge Work?
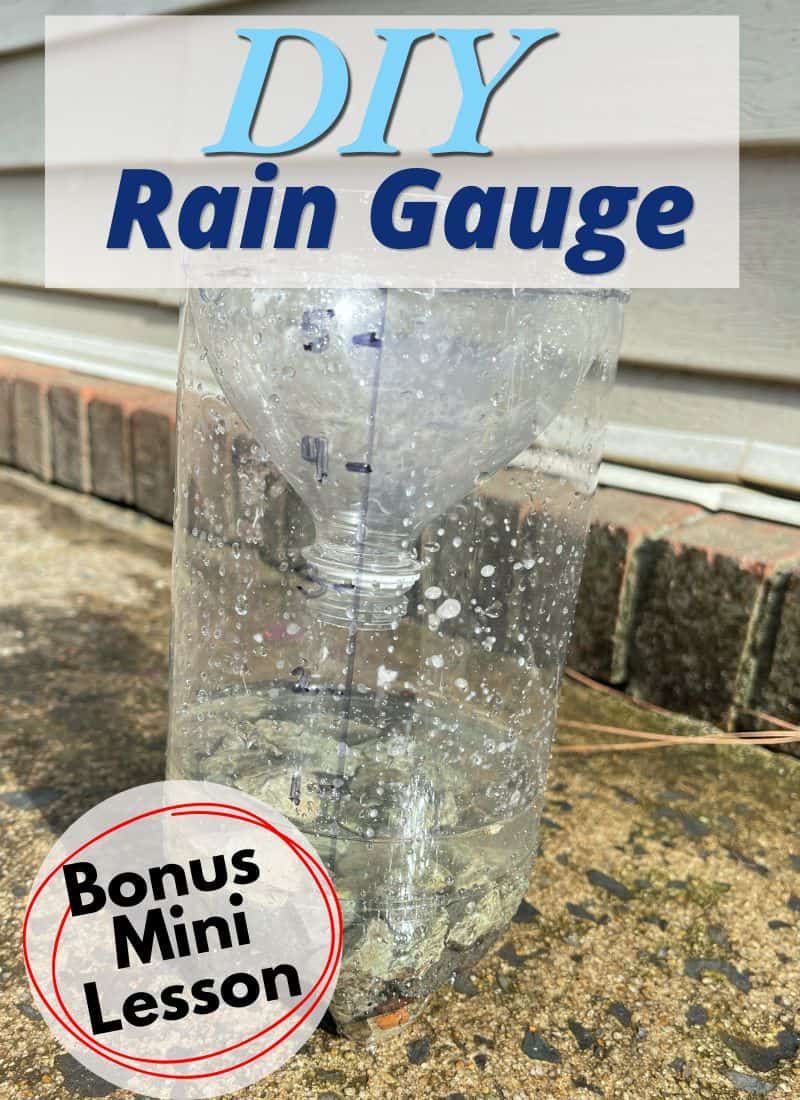
Most rain gauges use a cylindrical tube with measurement markings on the side. When rain falls, the water collects in the tube. Because the container has a consistent width, the depth of the water accurately shows how much rain has fallen.
How to Read a Rain Gauge
After it rains, check the water level in the rain gauge. The number closest to the top of the water shows how much rain has fallen. For the most accurate reading, look at the measurement at eye level and make sure the gauge is sitting on a flat surface.
Why Learning About Rain Is Important for Kids
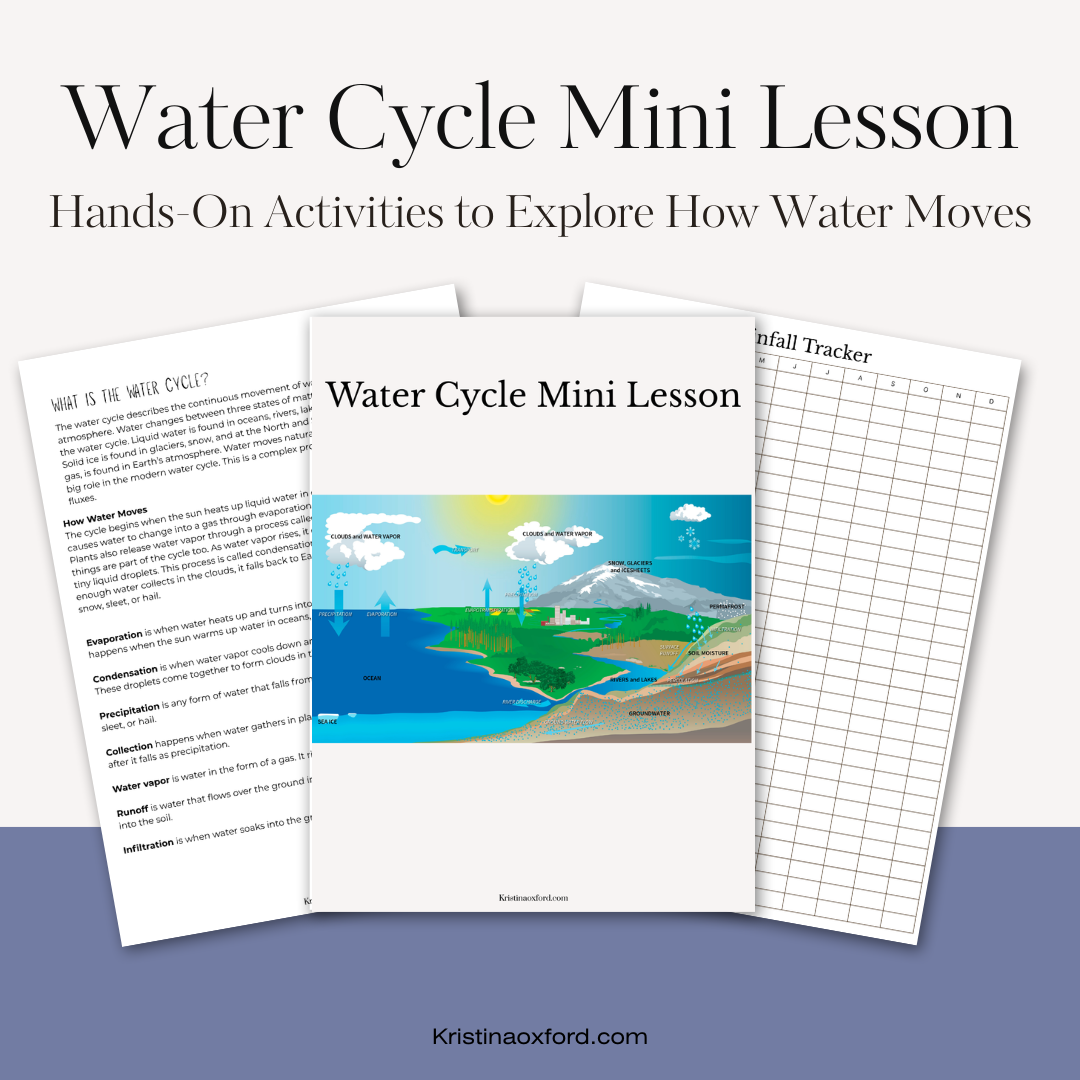
Learning about rain is important for kids because water is the foundation of life. Rain is part of the water cycle, and it plays a big role in growing plants, providing drinking water, and supporting ecosystems.
Measuring rainfall also gives kids a look at how scientists study weather. Meteorologists use tools like rain gauges to track storms, monitor weather patterns, and watch for things like heavy rainfall or possible flooding. When rainfall is recorded over time, it becomes easier to compare storms and notice patterns throughout a season. Check out the National Weather Service to learn more about what meteorologists do.
Summer STEM Project
Learning how to make a rain gauge is a simple and engaging way to introduce kids to weather science. With just a few everyday materials, you can create a DIY rain gauge at home and start measuring rainfall right away. A homemade rain gauge turns a rainy day into something more interesting. Instead of just watching the rain, kids can track how much falls, notice patterns over time, and start to understand how weather works.
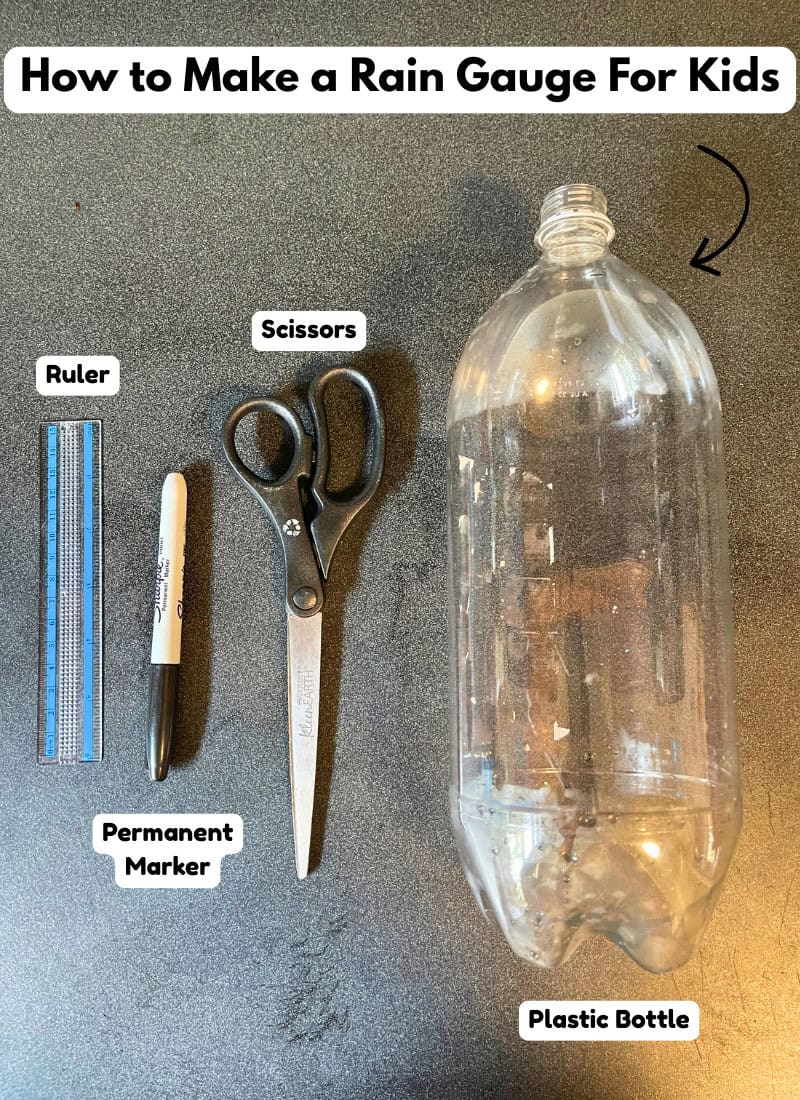
Materials list
- Plastic bottle with straight sides
- Scissors or a knife
- Tape
- Ruler
- Permanent marker
- Rocks or Dirt
Step-by-Step Instructions
Step 1: Cut the Bottle
Start by marking off the top of the bottle where the curved part ends. This will make cutting the top off more even. Carefully cut the top of the plastic bottle off. This will create an open container and a funnel piece.
Step 2: Mark the Measurement Scale
Use a ruler and permanent marker to draw measurement lines on the side of the bottle or on a piece of tape. Start from just above where the bottle is straight and mark in inches or centimeters.
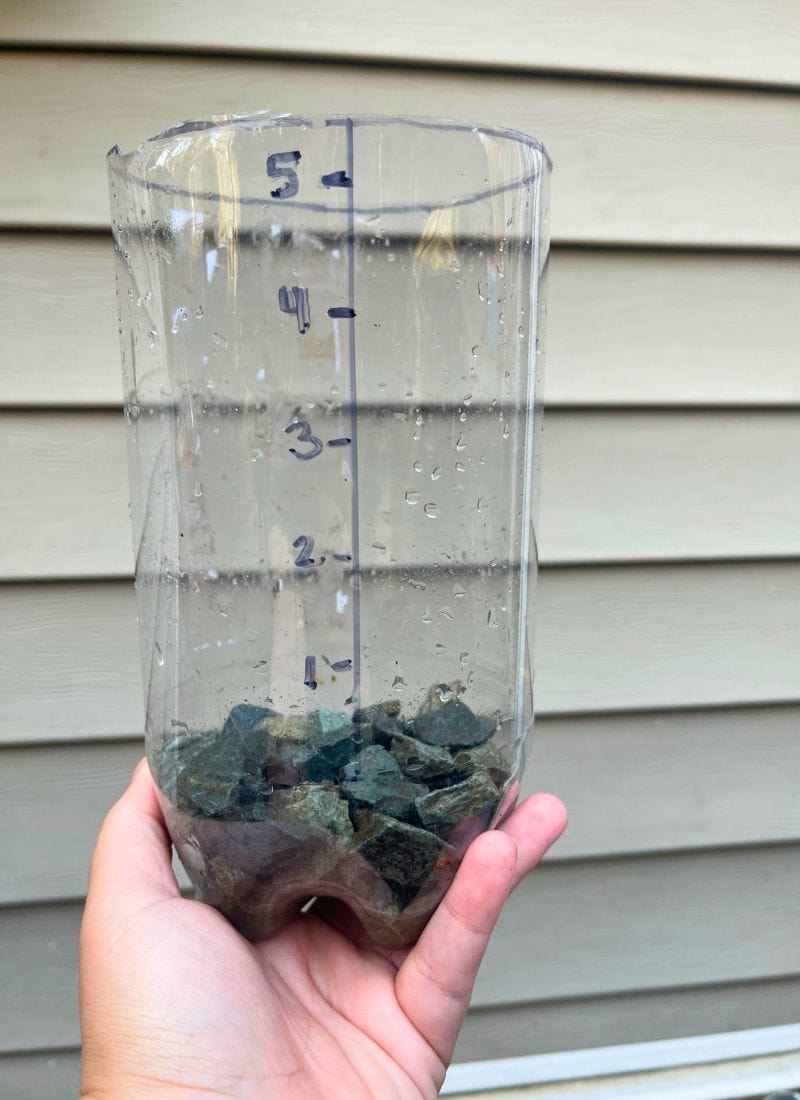
Step 3: Add Weight to the Bottom
Now, place a small layer of rocks or pebbles at the bottom of the bottle to keep your rain gauge from tipping over. Then, pour in enough water to reach the point where the measurements start, and the bottle’s sides become straight. This creates a consistent starting level, so your measurements are more accurate.
Step 4: Create the Funnel
Turn the top portion of the bottle upside down and place it into the bottom half to create a funnel. This helps direct rainwater into the container and reduces evaporation.
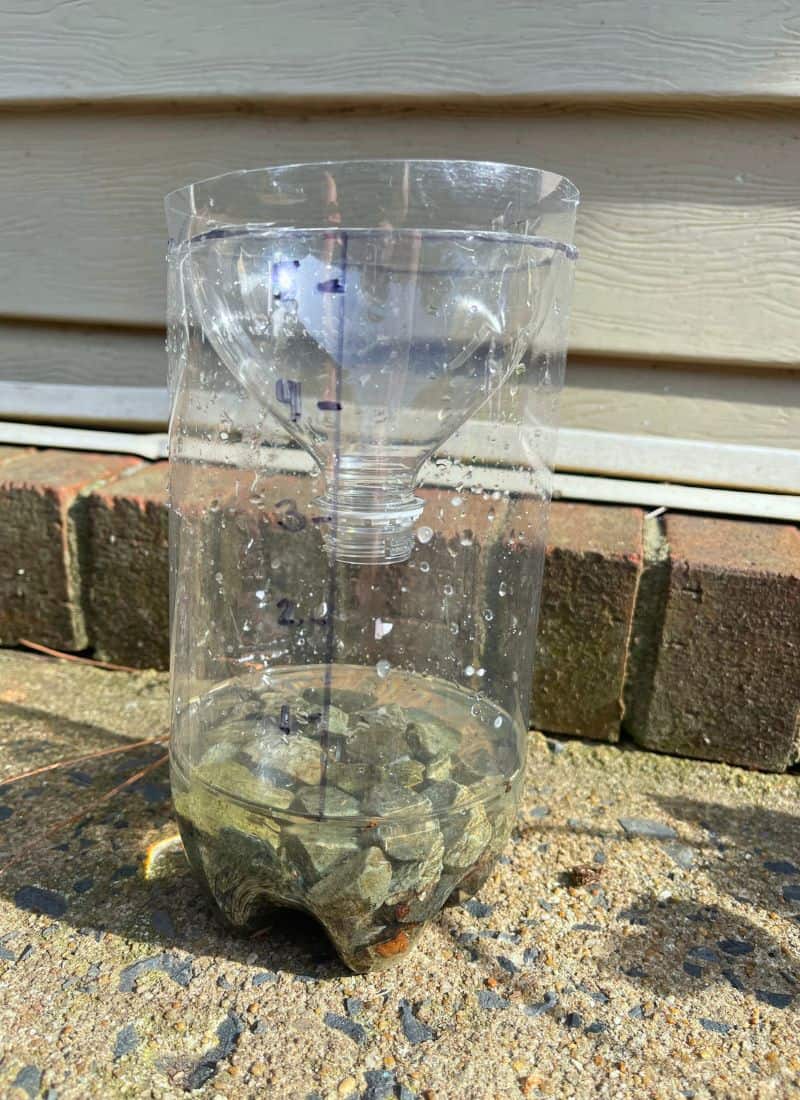
Step 5: Place Your Rain Gauge Outside
Set your rain gauge in an open area where it won’t be blocked by trees, roofs, or buildings. Make sure it is sitting on a flat surface.
Step 6: Record Rainfall
After it rains, check the water level and record how much rainfall has collected. If the rain gauge fills during a storm, reset the rain gauge and begin measuring again. Kids can track daily or weekly totals to observe weather patterns over time.
Tips for Making Your Rain Gauge More Accurate
While a homemade rain gauge is a simple outdoor learning activity, a few small adjustments can help improve accuracy and make your measurements more reliable.
- Placing it in an open area-Set your rain gauge in a location where it is not blocked by trees, fences, or buildings. Anything overhead can prevent rain from falling directly into the container and affect your measurements.
- Keep It Level-Make sure your rain gauge is sitting on a flat, level surface. If the container is tilted, the water level will not reflect an accurate measurement.
- Use a Straight-Sided Container-If possible, choose a bottle with straight sides so the measurement markings stay consistent from top to bottom. This helps ensure the rainfall readings are more accurate.
- Make sure to fill the bottom with water. Unless your container is straight all the way to the bottom, soda bottles have irregularly shaped bottoms. These shapes will make the measurements inaccurate. You will need to fill the bottom with water up to the straight sides of the bottle for an accurate measurement.
- Check at the same time each day– Check the measured rainfall at the same time each day. This creates consistent data and helps them better understand weather patterns over time.
- Empty after each measurement– After recording the rainfall, pour out the water so the rain gauge is ready for the next measurement. This keeps your data accurate day to day.
- Secure it if needed– If you live in a windy area, consider securing it so it doesn’t tip over.
Looking for more STEM? Try these!
Benefits of Making a Rain Gauge
This hands-on activity turns everyday weather into a real STEM learning experience. Kids can collect rainwater, measure precipitation, and track how much rain falls over time. Making a rain gauge is also a great way to practice observation, measurement, and recording data. This is a fun demonstration to learn about what meteorologists do.
Rain Gauge Experiment for Kids
A rain gauge experiment is a simple and engaging way to turn weather observation into a hands-on STEM weather activity. By measuring rainfall over time, kids can collect real data, compare results, and better understand weather patterns through a meaningful measuring rainfall activity.
- Track Rainfall for a Week -Track how much rain falls each day for a full week using your homemade rain gauge. Kids can record daily measurements and look for patterns, such as which days had the most or least rainfall. This rain gauge experiment helps build observation and data collection skills.
- Graph Your Results-Turn your rainfall data into a simple bar graph or chart. Kids can visually compare how much rain fell each day, making it easier to see patterns and trends. This STEM weather activity combines science and math while helping kids practice organizing and interpreting data.
- Measure Rainfall During Different Storms-Compare how much rain falls during light rain versus heavy storms. Kids can observe how quickly the rain gauge fills and discuss differences in intensity. This measuring rainfall activity helps kids understand that not all rainstorms are the same.
- Predict and Check-Before it rains, have kids predict how much rainfall they think will collect in the gauge. Afterward, compare their prediction to the actual measurement. This rain gauge experiment builds estimation skills and introduces the scientific method.
- Compare Different Locations-Place two rain gauges in different areas, such as an open yard and near a tree or building. Compare how much rain each one collects. This weather experiment for kids helps show how placement affects accuracy.
Rain Gauge Recording Chart and Mini Lesson
FAQ Section
How accurate is a homemade rain gauge?
A homemade rain gauge can be fairly accurate, usually measuring rainfall within about 5–10% of professional rain gauges when it is made with a straight-sided container and placed in an open area away from buildings and trees.
Where should you place a rain gauge?
To get an accurate measurement, rain gauges are placed in open areas away from buildings and trees. This prevents obstacles from blocking rainfall or causing extra water to drip into the gauge.
How often should you check a rain gauge?
Depending on the storm’s severity, you may need to check the rain gauge every hour or once in a 24-hour period. Just try to be as consistent as possible when you are checking it.
Conclusion
Making a rain gauge is an easy way to turn a rainy day into something a little more meaningful. Once kids start measuring rainfall, they begin to notice patterns and pay more attention to the weather around them.
It’s a simple activity, but it gives kids a hands-on way to explore the water cycle and see how rain connects to the world around them. This is one of those things you can come back to again and again, especially as the seasons change.
Pin it for Later!

I love this idea! How fun, and resourceful too!